
How to use an outdoor pizza oven at home guide, good homemade food advice, house garden party cooking
How to use an outdoor pizza oven?
10 March 2025
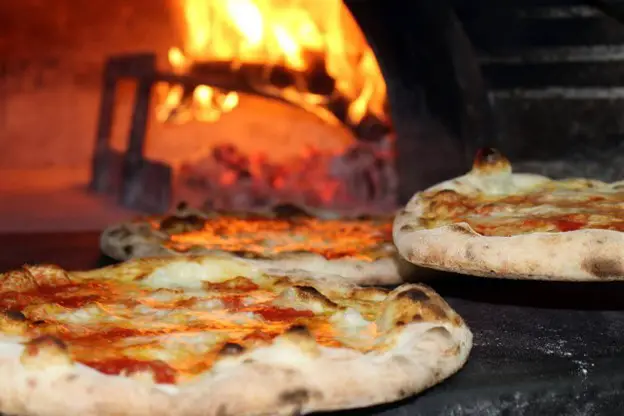
There’s nothing quite like the taste of a homemade pizza, especially when cooked in a wood-fired pizza oven. Unlike a conventional oven, which relies on electric or gas heating, a wood-fired oven produces high heat, allowing you to achieve a beautifully crispy crust, perfectly melted cheese, and a deliciously smoky flavour.
Using an outdoor pizza oven might seem daunting at first, but with the right approach, you can master wood-fired cooking and make the perfect pizza in your own garden. Whether you’re hosting a pizza party or simply enjoying the process of pizza making, understanding how to prepare, heat, and use your wood-fired oven is essential.
This guide will take you through all the details of using a wood-fired pizza oven, from the fire-lighting process to achieving the right oven temperature for cooking pizza. You’ll also learn how to use a pizza peel, check the oven floor temperature with an infrared thermometer, and explore different cooking techniques beyond pizza, such as slow cooking meats and roasted vegetables.
By the end of this guide, you’ll have all the knowledge you need to start cooking in your outdoor oven, ensuring that every pizza you make is cooked to perfection.
Preparing Your Wood-Fired Pizza Oven for the First Time
Before you begin making pizza in your wood-fired oven, it’s important to prepare it properly. Whether you’re using a brick oven or one of the many modern home pizza ovens, taking the right steps ensures that your outdoor pizza experience is a success.
1. Setting Up Your Outdoor Pizza Oven
- Choose a stable, heat-resistant surface for your outdoor oven. It should be positioned away from walls, fences, or any other highly flammable substances to ensure safety.
- If you have a brick oven, make sure it’s built on a solid foundation that can withstand the heat from the wood fire.
- For portable home pizza ovens, place them on a sturdy, heatproof table or stand.
2. Curing Your Wood-Fired Oven
If you’ve just purchased or built a wood-fired pizza oven, it’s essential to cure it before using it for the first time. Curing removes excess moisture and prevents cracking when exposed to high temperatures.
- Start by lighting a small fire inside the oven and gradually increasing the heat over a few days.
- Keep the temperature low at first to allow the oven to dry out completely.
- Avoid using lighter fluid or any highly flammable substances—these can produce harmful fumes and damage your oven.
3. Understanding How a Wood-Fired Pizza Oven Works
Unlike a conventional oven, a wood-fired pizza oven relies on high heat from burning wood. The oven floor and walls absorb heat, radiating it evenly throughout the cooking area. This intense heat allows you to cook pizzas in just a couple of minutes, creating that perfect crispy crust that is difficult to achieve in a standard oven.
Once your wood-fired oven is set up and properly cured, you’re ready to move on to the next step: choosing the right firewood and starting the fire-lighting process.

Choosing the Right Wood for Your Pizza Oven
The type of wood you use in your wood-fired pizza oven plays a crucial role in achieving the proper oven temperature and enhancing the flavour of your wood fire pizza. Selecting the correct firewood ensures efficient burning, minimal smoke, and even heat distribution across the pizza oven floor.
1. What Type of Wood is Best for a Wood-Fired Oven?
For the best results, you should use good wood that burns cleanly and produces high heat. The best types of firewood for wood-fired cooking include:
- Hardwoods such as oak, beech, ash, or maple – these woods burn efficiently and maintain a consistent temperature.
- Kiln-dried or well-seasoned wood – this wood contains less moisture, allowing it to burn hotter and with low smoke.
- Compressed wood shavings – these are excellent for kindling and getting the fire started quickly.
2. What to Avoid When Selecting Firewood
Using the wrong type of wood can cause excess smoke, unpleasant flavours, and even damage your outdoor pizza oven. Avoid:
- Resinous woods such as pine or fir – these produce sticky creosote, which can build up inside the cooking area.
- Treated or painted wood – burning these releases harmful chemicals that can contaminate your food.
- Damp or green wood – unseasoned wood contains too much moisture, making it difficult to maintain a steady fire.
- Lighter fluid or any other highly flammable substances – these can create dangerous flare-ups and alter the natural wood-fired flavour of your perfect pizza.
3. Preparing Firewood for Your Pizza Oven
To get the best heat distribution across the entire oven floor, it’s essential to prepare your firewood correctly:
- Cut logs into small, manageable pieces that fit perfectly inside your wood-fired oven.
- Store firewood in a dry, ventilated area to keep it moisture-free.
- Use natural firelighters or compressed wood shavings instead of chemicals to start the fire-lighting process.
With the right wood ready, it’s time to move on to lighting the wood fire and getting your outdoor oven up to temperature.

Lighting the Fire in Your Wood-Fired Oven
A properly lit fire is essential for achieving the desired temperature and ensuring even heat distribution across the pizza oven floor. Unlike a conventional oven, which heats up at the push of a button, a wood-fired pizza oven requires patience and technique to reach the optimal cooking temperature.
1. Step-by-Step Guide to the Fire-Lighting Process
Follow these steps to build an efficient fire in your wood-fired oven:
Step 1: Arrange the Firewood
- Start by placing natural firelighters or compressed wood shavings in the centre or slightly towards the back of the oven. These will ignite easily and provide a steady flame.
- Arrange small pieces of good wood (dry kindling) over the firelighters, creating a pyramid shape to allow airflow.
Step 2: Light the Fire
- Use a long match or a firelighter to ignite the small fire.
- Let the fire burn for a few minutes, allowing the flames to spread evenly through the kindling.
- Avoid using lighter fluid or any highly flammable substance, as these can create unpredictable flames and unwanted chemical smells.
Step 3: Add Larger Logs Gradually
- Once the small fire is stable, add medium-sized logs to sustain the fire.
- Continue adding firewood gradually, ensuring that the flames stay consistent and that the oven floor begins to heat up.
- The key to a good wood-fired oven is allowing the fire to burn steadily, rather than overloading it with all the wood at once.
Step 4: Wait for the Firewood to Turn White
- As the fire burns, you will notice the firewood gradually turning white, which indicates that the wood has fully combusted, leaving behind hot embers.
- At this stage, your wood fire pizza oven is close to reaching the right heat level for pizza making.
2. Managing the Heat in the Oven
A wood-fired oven needs time to reach the desired temperature. This can take anywhere from 30 minutes to an hour, depending on the size of the oven.
- Use an infrared thermometer to measure the oven floor temperature—it should be between 350-450 °C for cooking pizza.
- To ensure even heat distribution, spread the embers across the entire oven floor, or move them to the back of the oven if you’re ready to start baking.
- A properly heated baking stone or pizza oven floor will give your own pizza that signature crispy crust.
Once your outdoor pizza oven has reached the right temperature, it’s time to start making pizza!
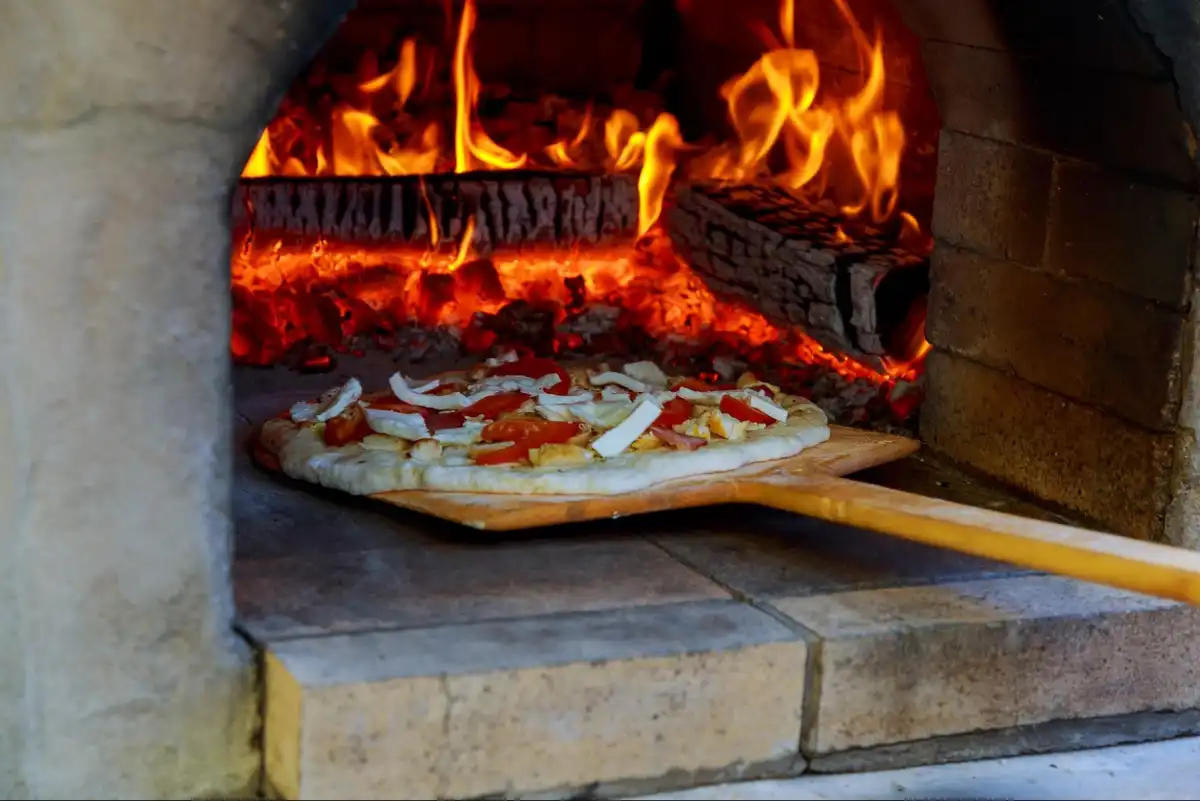
Preparing the Pizza and Cooking in the Outdoor Oven
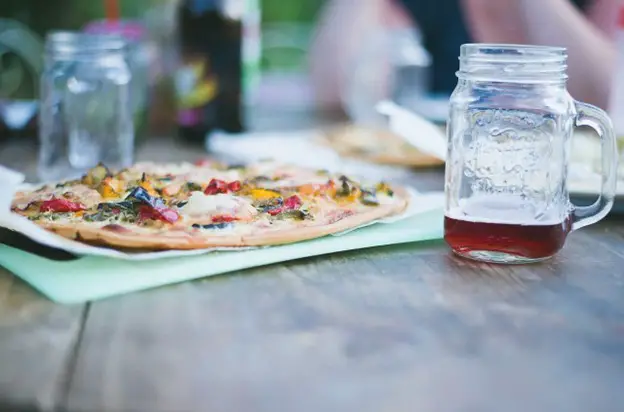
Once your wood-fired pizza oven has reached the desired temperature, it’s time to start making pizza. A well-prepared pizza will cook quickly in the high heat of the wood-fired oven, producing a perfect balance of a crispy crust, bubbling melted cheese, and rich flavours from the wood fire.
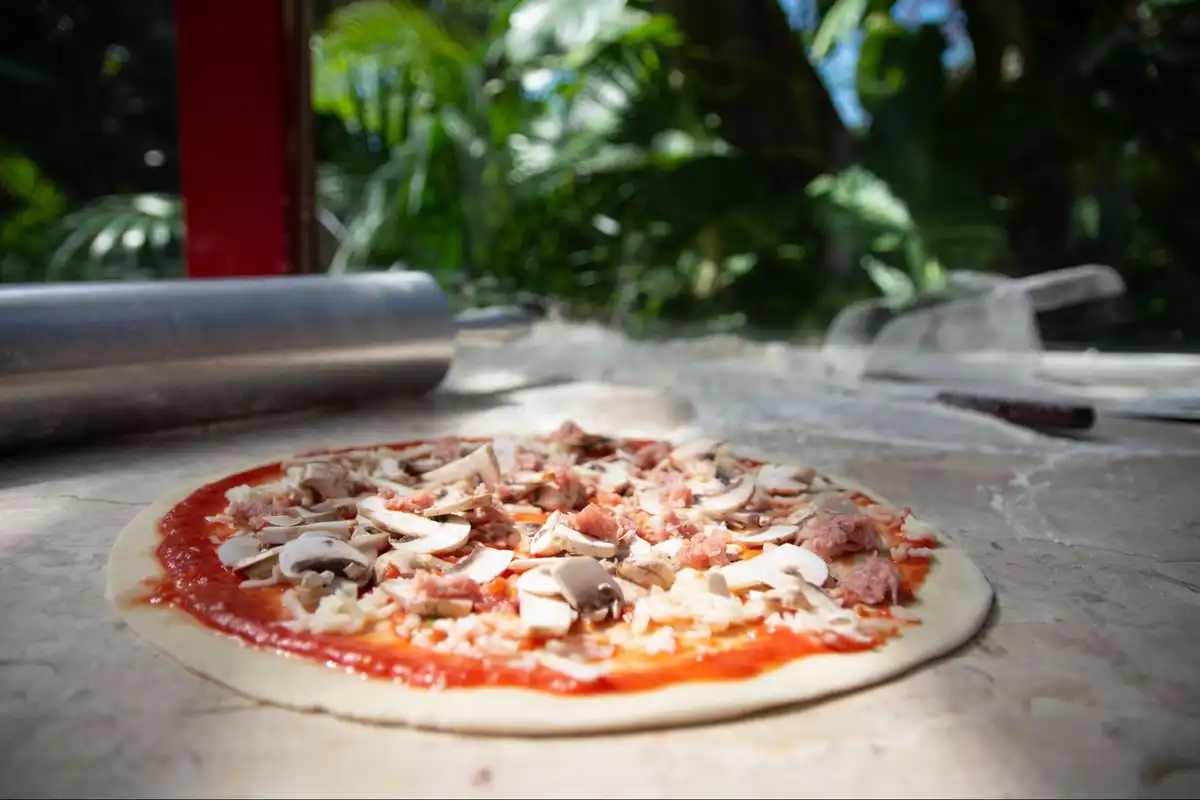
1. Preparing the Pizza Dough and Toppings
A great wood fire pizza starts with high-quality ingredients. Here’s how to prepare your pizza dough and toppings for the best results:
Step 1: Rolling Out the Dough
- If making your own pizza dough, let it rest at room temperature before rolling.
- Lightly flour the surface and roll or stretch the dough into a thin, even round.
- Avoid making the base too thick, as the high temperature of the oven will cook the pizza very quickly.
Step 2: Adding the Sauce and Toppings
- Spread a thin layer of tomato sauce, leaving space around the edges for a good crust.
- Add toppings sparingly to prevent the pizza from becoming soggy.
- Finish with a drizzle of olive oil for extra flavour.
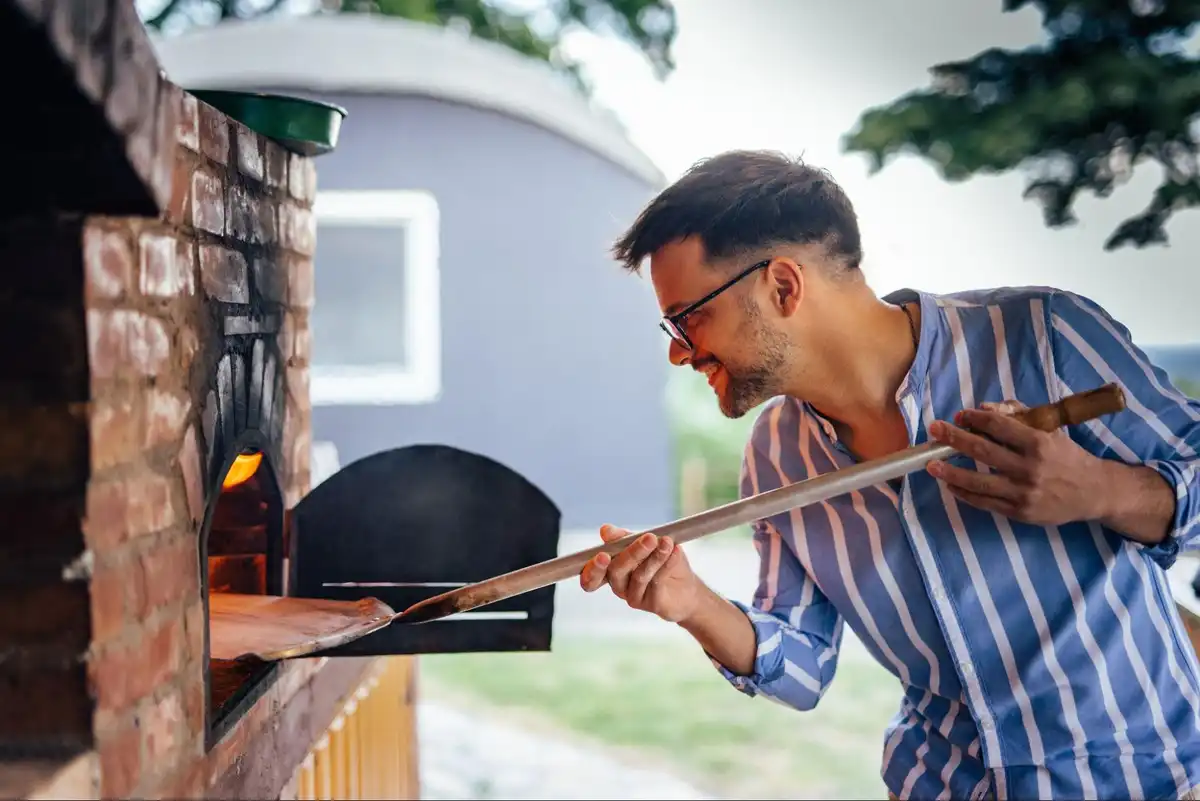
2. Cooking Pizza in a Wood-Fired Oven
Cooking in an outdoor pizza oven is a fast process, so it’s important to work efficiently.
Step 1: Positioning the Pizza in the Oven
- Use a pizza peel to transfer the pizza onto the baking surface.
- Place the pizza close to, but not directly on, the embers to avoid burning the base.
- Ensure the oven floor temperature is around 350-450 °C for optimal cooking.
Step 2: Rotating the Pizza for Even Cooking
- Since wood-fired ovens cook from all directions, use a turning peel to rotate the pizza every 20-30 seconds.
- Watch for bubbling cheese and a golden, slightly charred crust.
Step 3: Knowing When the Pizza is Ready
- The pizza should be fully cooked in 60-90 seconds due to the high heat.
- The crust should be crispy with a slight char, and the toppings should be evenly melted.
- Remove the pizza from the oven using the pizza peel, and let it cool slightly before serving.
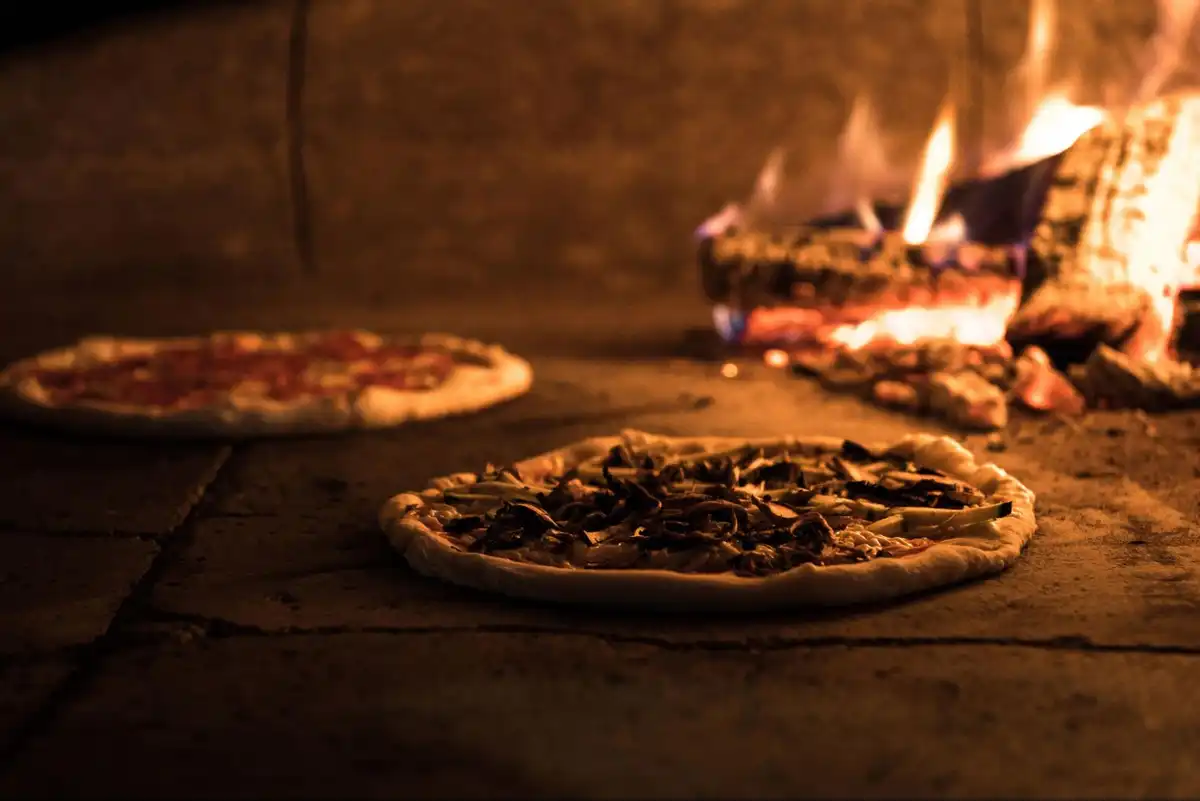
3. Cooking Multiple Pizzas
- If making several pizzas at a pizza party, maintain the heat by adding small amounts of firewood as needed.
- Ensure the cooking area remains at the right oven temperature for consistent results.
Now that you’ve mastered cooking pizza in a wood-fired oven, let’s explore other dishes you can make using wood-fired cooking!
Cooking Other Dishes in a Wood-Fired Oven
A wood-fired pizza oven isn’t just for making pizza—it’s a versatile cooking tool that can handle a variety of dishes. By adjusting the oven temperature, you can prepare everything from slow-cooked meats to roasted vegetables, bread, and even desserts.
- Slow Cooking Meats
- After cooking pizza, the oven floor temperature will gradually drop, making it ideal for slow cooking.
- Place meats like lamb, pork shoulder, or beef brisket in a cast-iron dish with herbs and a splash of olive oil.
- Cook at lower temperatures (150-200 °C) for several hours, allowing the smoky flavour to develop.
- Roasting Vegetables
- A good wood-fired oven can roast vegetables quickly while enhancing their natural sweetness.
- Toss vegetables like peppers, aubergines, courgettes, and potatoes with olive oil, salt, and herbs.
- Spread them evenly on a baking stone or roasting tray and place them inside the cooking area for 15-20 minutes.
- Baking Bread and Other Baked Goods
- When the wood fire has died down and the oven floor retains heat, it’s perfect for baking.
- Rustic sourdough, focaccia, and flatbreads cook beautifully in the retained heat of the brick oven.
- For softer pastries and desserts, let the oven temperature drop further to around 180 °C.
By using your outdoor pizza oven for different types of wood-fired cooking, you can make the most of its high heat and enjoy a variety of flavourful dishes beyond just pizza.
Cleaning and Maintaining Your Outdoor Pizza Oven
Proper care and maintenance of your wood-fired pizza oven will ensure it lasts for years and continues to produce perfect pizza and other delicious dishes. Unlike a conventional oven, a wood-fired oven requires regular cleaning to remove ash, food residue, and soot buildup.
1. Cleaning the Oven Floor and Cooking Area
- After cooking, allow the outdoor pizza oven to cool completely before cleaning.
- Use a metal brush or a pizza oven rake to sweep away ash and burnt wood from the pizza oven floor.
- Avoid using water to clean the baking surface, as sudden temperature changes can cause cracking, especially in a brick oven.
2. Removing Ash and Soot Build-Up
- Empty the cooled ash from the entire oven floor regularly to maintain airflow and efficient burning.
- If your wood-fired oven has a chimney, check it for soot build-up and clean it periodically to prevent blockages.
3. Checking for Damage
- Inspect the oven floor and interior walls for cracks, which can develop over time due to repeated exposure to high temperatures. If it needs any repairs, check the offer of Vitcas – Refractory Materials Manufacturer.
- If using a home pizza oven with a metal shell, check for rust and apply heat-resistant coatings if necessary.
4. Storing the Oven Properly
- If your outdoor oven is exposed to the elements, consider using a weatherproof cover when not in use.
- Keep your firewood in a dry location to ensure it remains ready for use.
Regular maintenance will keep your wood-fired pizza oven in excellent condition, ensuring it remains a reliable tool for pizza making and wood-fired cooking.
Conclusion
Cooking with a wood-fired pizza oven is a rewarding experience that brings authentic, restaurant-quality wood fire pizza into your home. By following this guide, you now have the knowledge to:
- Prepare your outdoor pizza oven for its first use.
- Select good wood and master the fire-lighting process.
- Achieve the right oven temperature using an infrared thermometer.
- Use a pizza peel and turning peel to handle pizzas in the high heat of the cooking area.
- Experiment with other wood-fired cooking techniques, including slow cooking and roasted vegetables.
- Keep your brick oven or home pizza oven in top condition with regular cleaning and maintenance.
Whether you’re hosting a pizza party or simply enjoying a relaxing evening making your own pizza, a wood-fired oven adds a unique touch to outdoor cooking. With practice, you’ll be able to create the perfect pizza, complete with a crispy crust, bubbling cheese, and the unmistakable smoky flavour that only a wood fire can provide.
Now it’s time to fire up your outdoor oven, gather your ingredients, and start making pizza like a pro!
Comments on this guide to How to use an outdoor pizza oven at home article are welcome.
Restaurants
Restaurants Posts
Wood fired pizza oven for your back patio
Differences between regular and wood-fired oven
9 Things Every Restaurant Owner Should Know
Choose the Perfect Bar Stools for your Restaurant
Top 6 Reasons to Consider Investing in Pizza Franchise
++
Buildings
Café Architecture
Comments / photos for the How to use an outdoor pizza oven at home page welcome