How to build your own fence that will last, Garden security guide, Property fencing tips
How To Build Your Own Fence That Will Last
1 Oct 2022
Building your own fence may seem daunting, but it can be a fun and rewarding project! Not only will you save money by doing it yourself, but you’ll also have the satisfaction of knowing that your fence is exactly the way you want it. In this article, we will walk you through the process of building a fence that will last for years to come. Let’s get started!
1) Choose Your Material
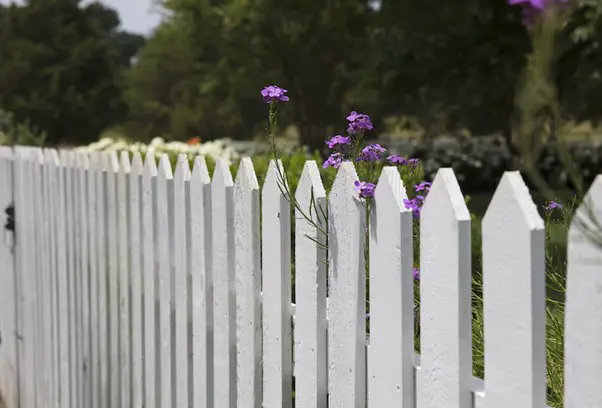
When it comes to choosing the material for your fence, there are a few things to consider. First, think about what type of climate you live in. If you live in a hot climate, you’ll want a material that can withstand the heat, such as metal or wood. If you live in a cold climate, you’ll need a material that can withstand the cold, such as vinyl or plastic.
Another thing to consider is the level of maintenance you’re willing to do. We took a look at Australian fencing supplies and saw that PVC fencing required the least amount of maintenance, while wood fencing required the most. Finally, think about your budget. Some materials are more expensive than others. Vinyl and metal fences are usually more expensive than wood fences, but they last much longer. It’s important to choose a material that fits both your needs and your budget.
2) Plan Your Fence
Once you’ve chosen the material for your fence, it’s time to start planning! The first step is to measure the size of your property. This will help you determine how many panels or sections of fence you will need. It’s also important to plan where the gate will go and how big it will be.
Once you know the size of your property and where the gate will go, it’s time to start drawing up plans. Draw out a diagram of your property and garden with all the measurements and make sure to include the location of the gate. This will help ensure that your fence is installed correctly and looks good once it’s finished.
3) Install Your Fence
Now it’s time for the fun part: installing your fence! The first step is to dig holes for the posts. Make sure the holes are deep enough so that the posts will be sturdy and won’t blow over in strong winds. Once the holes are dug, put each post in its hole and use the concrete mix to secure it in place. Follow the manufacturer’s instructions for how much concrete mix to use per post.
Next, install the panels or sections of fence between the posts. Make sure each panel is level and straight before securing it in place with screws or nails. Finally, install the gate according to its diagrammed location and hang any gates or latches needed. Congratulations! You’ve just installed your very own fence!
So, there you have it! These are the steps to take in order to build your own fence that will last. Just remember to choose your material wisely, plan your fence carefully, and install it correctly. With a little bit of elbow grease, you’ll have a beautiful fence that will serve you well for years to come!
Comments on this How To Build Your Own Fence That Will Last article are welcome.
Fences
Fencing Posts
Choose best fence for your garden and yard
Things to consider when choosing a fence for your pets

Reasons to hire a professional fence contract
Unique deer fencing to simplify greenspace challenges
Top 5 reasons why a fence is good for your home
GPS Dog Fence Vs In-ground Dog Fence
Building
Architecture and Landscape Articles
Comments / photos for the How To Build Your Own Fence That Will Last page welcome