
Guide for building a pitched roof at home, Property roofing pitch angle advice, House build
Guide for Building a Pitched Roof at Home
post updated April 17, 2025
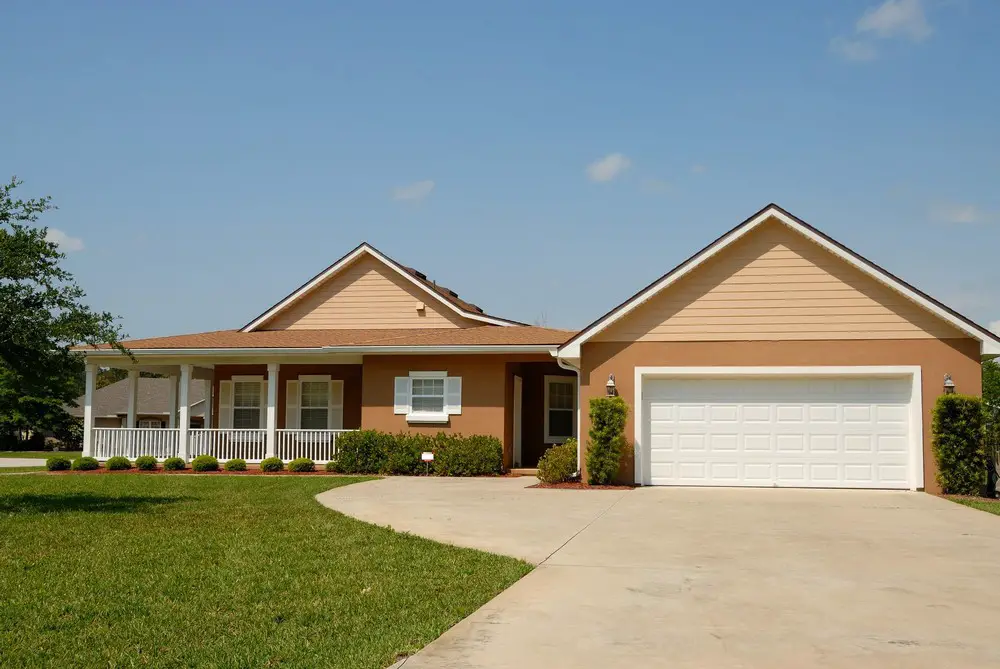
Most British homes use the pitched roofing style. Pitched roofs are those that take a slope or angle to them. The two main types are dual or mono-pitched roofs. Building a pitched roof requires professional skills and experience to provide a weather-tight shelter for structures. Here is a step-by-step guide for building a pitched roof.
14 July 2022
Step by Step Guide for Building a Pitched Roof Guide
- Location Clearing
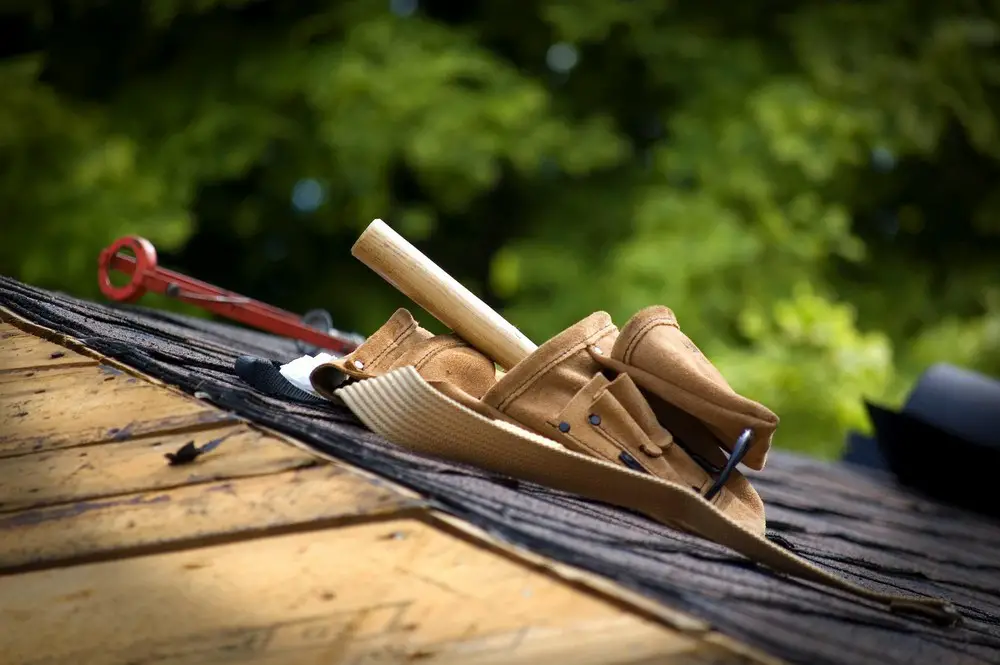
Pitched roofing requires a safe overhead environment. This means that one should consider making the construction location clear and safe. Trim over-extending tree branches and ensure no electric cables pass nearby. Additionally, regular maintenance such as roof cleaning in Vancouver is essential to keep the area secure and in good condition.
Once the construction location is free from obstructions that could potentially damage the structure, the construction now begins.
- Roof Pitch Calculation
The construction begins with basic calculations to determine the desired degree of the pitch the roof should take. One can either decide to have a low or steep pitch roof design. The standard ratio for low pitch are 2:12 or 3:12 (roof rises two or three inches for every twelve inch horizontally)
Steep pitch takes the ratio of 6:12.
- Calculate The Number Of Materials Required
Roof pitch calculations are crowned by calculating the materials required to construct the roof successfully. Professionals have their manual methods of calculating the roof area. However, one can use the available roofing calculator app to simplify the process and give accurate results. When tackling a complex project like building a pitched roof, consulting a reputable roofing company can provide essential expertise and ensure that your roof is constructed to the highest standards.
- Create A Plan
Once the pitched roofing area is calculated and the amount of materials required is determined, one can proceed to create a plan. The pitched roof plan should include angle measurements and the desired roof layout.
The plan should accurately capture the required roof truss spacing and installation angles.
- Material Ordering
Ordering of materials is possible once the calculations are done, and a plan is ready. Construction and installation of the roof should not start unless all the ordered materials are delivered on-site. Remember also to consider the lead time when placing the orders to avoid delays in the project.
Some materials used in pitched roofing construction include underlay, plywood, roof coverings, nails, and timber battens. Common roof coverings include slates, roof tiles, shingles, steel purlins, and metal sheets.
- Raise Trusses Onto The Building Structure
Before hosting truces onto the roof, ensure that the walls are level and square at the top. The trusses should be evenly spaced into position and at the exact angle as captured in the plan. The common space between trusses is 12, 16, or 24 inches apart. However, the spacing is entirely dependent on the formulated strategy.
- Fit Temporary Braces
The roof trusses will need some braces for support. To create temporary braces, vertically nail a two-by-six sixteen-foot board to the centre of the back wall. On either side of the central brace, at six feet distance, nail the other two supports of the exact dimensions as the main brace.
Repeat the same procedure for a double pitch roof at the second end of the roof.
- Fit The First Roof Trusses
The roof truss should always be slightly longer than the measured length. Take one roof truss and fix it to the end truss. The somewhat extended truss should be set to the central brace. The same should be done on the opposite side of the roof.
Afterwards, the same procedure should be done on the second end of the roof.
- Create A Central Support
The next step is creating central support. Use a longer timber truss that extends to both ends of the roof and fix it to the main temporary brace on either end.
- Add Roof Trusses
We are now proceeding to the front of the building. Add more roof trusses attaching them to the central truss and horizontal truss. The roof trusses should be added at regular intervals and at angles to the horizontal ones.
This should form the frame of the roofing.
- Install Permanent Bracing At Each End
The roofing frame must be secured, ensuring all trusses are anchored and braced. Install the permanent bracings at each roof end as guided by the manufacturer’s manual.
- Add Sheathing
The sheathing of the roof is done once the framework is complete. Install the sheathing material starting at the bottom corner as you move horizontally across the roof frame. You can use plywood to do the sheathing.
However, ensure joins are done over a roof truss and a gap left between the sheet joints. You can also fit a drip edge along the bottom of the roof edge to drain away water away from the structure’s walls.
- Add The Underlay
You can now install the roofing underlay to a waterproof layer. The installation should involve overlaps into the drip tray to protect the sheathing and roof structure from water. The second piece of underlay should overlap the first by six inches.
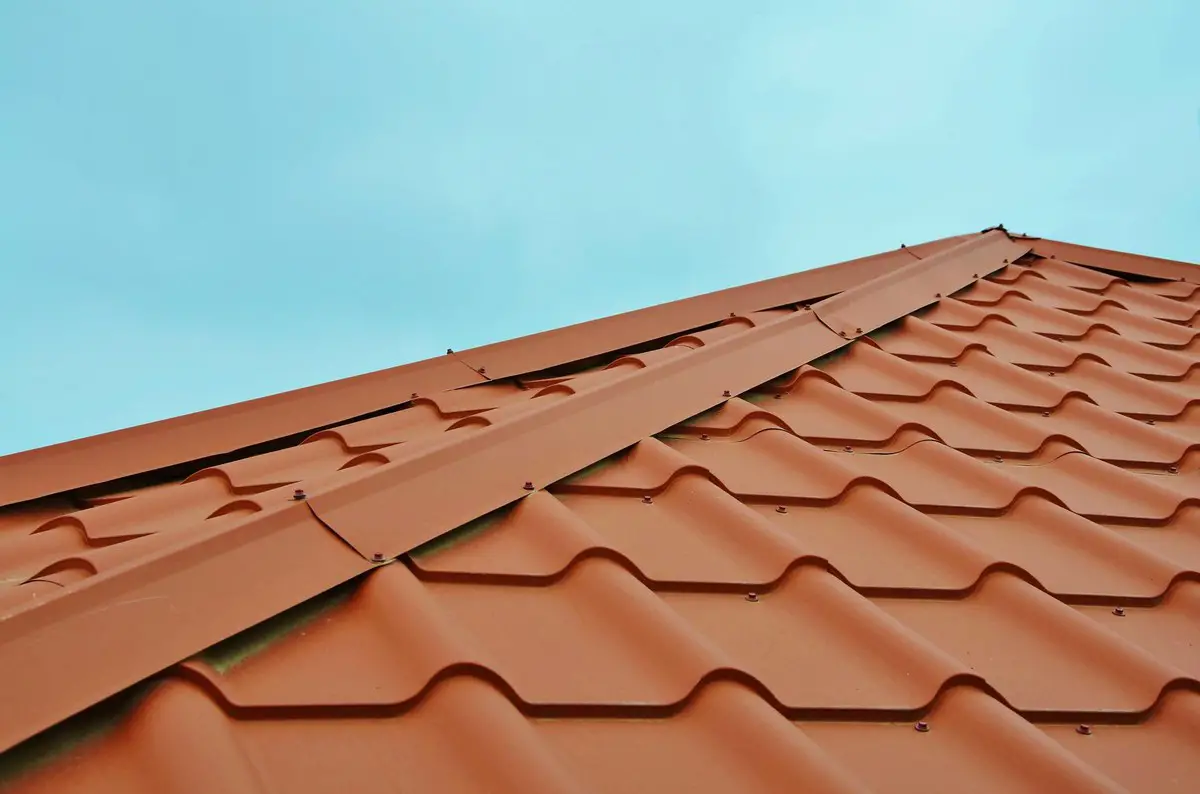
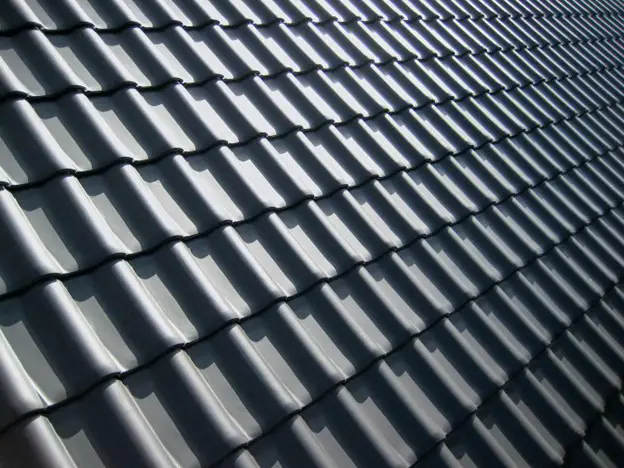
- Add The Roofing Material
You can now install the roof cover material of your choosing. They range from tiles, slates, and shingles. Some designs require the installation of timber battens or adding fascia, soffit boards, and gutters.
Comments on this Step by Step Guide for Building a Pitched Roof article are welcome.
Roofing Contractor
Roofing Replacement Posts
What You Need to Know About Replacing Your Roof
6 questions to ask when hiring residential roofing contractor
First Time Replacing Your Roof
Building Articles
Residential Architecture
Comments / photos for the Step by Step Guide for Building a Pitched Roof page welcome.