A brief guide to fitting wet wall panels, Glasgow bathroom design tips, Scottish wet room en suite advice
Brief Guide To Fitting Wet Wall Panels Glasgow
2 Jun 2021
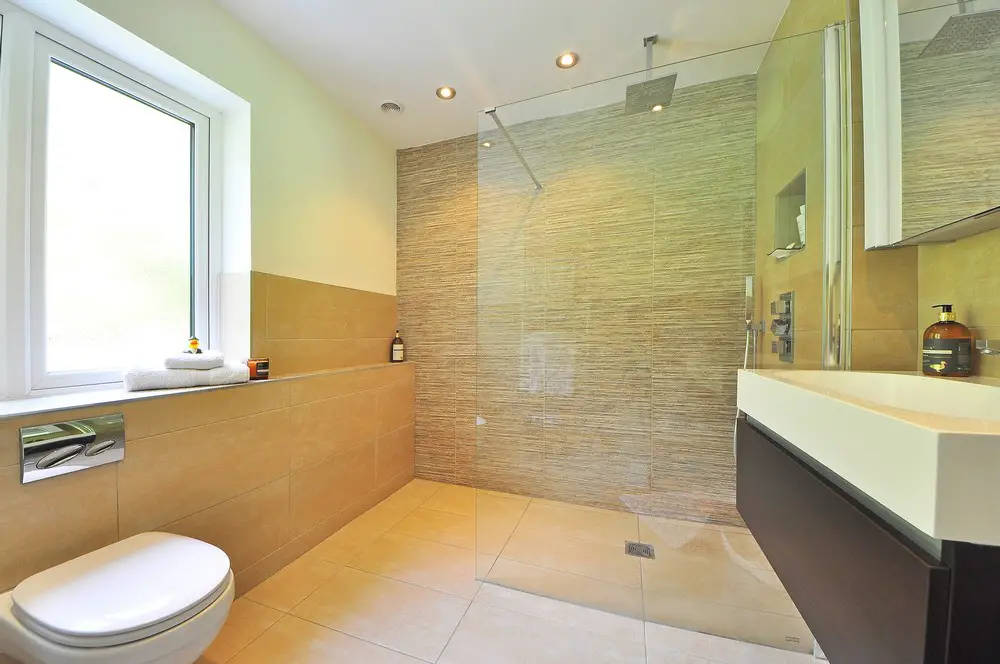
A quick and easy way of sprucing up any bathroom, wet room, or en suite is by adding wet wall panels to it. Over recent years these sleek alternatives to regular wall tiles have become increasingly popular thanks to how easy they are to install and how long they last for.
As a result, there are now more and more retailers stocking these items that come in a range of different colours, styles, and finishes. For anyone looking for them in the Glasgow area of Scotland, go visit wet wall Glasgow.

Brief Guide To Fitting Wet Wall Panels
Putting wet wall panels over tiles
Wet wall panels can be placed right over existing wall tiles that you may already have in place in a bathroom, wet room, or en suite – there is no need to remove them prior to installation. They still remain fully waterproof regardless of whether they are installed on top of wall tiles or directly onto a plastered wall. The same level of maintenance is required no matter what surface they are attached to.
Preparing to fit wet wall panels
After deciding what styles of wet wall panels it is that you want, you need to then measure the space where they are going. Be sure to accurately measure each and every wall that they are to be installed, taking both the vertical and horizontal measurements.
For the best results, make sure that you treat each and every one of the panels that you plan on installing. To do this, use an anti bac liquid and give them a good clean all over. You should do this whilst the panels are laid flat on the floor or on a steady surface, such as a table top. Doing this will ensure that they are ready to go as soon as they are installed.
Prior to actually installing any wet wall panels, make sure that you have all of the necessary tools and equipment to hand. This includes a sealing kit, sand paper, an adhesive sealant, a fine tooth or an electric saw, a sharp cutting blade, a tape measure, a pair of safety goggles, and a caulking gun.
Installing wet wall panels
Firstly, lay the panel down on some supports and then proceed to mark out all of the lines that you need to cut along. A handy tip here is to use tape to mark out the lines, as not only will it provide a good visible indicator, but it will also act as a form of protection to the edge of the wet wall panel. With either an electric or fine tooth saw, slowly cut along the lines in order to get the required size and shape. You should use your safety goggles when doing this.
Then use the sandpaper to smoothen out the edges that have been cut so that they fit flush against the other panels. After that, apply the adhesive to the back of the wet wall panel and affix it to the wall. This process needs to be repeated until the entire space is covered.
Comments on this Guide To Fitting Wet Wall Panels article are welcome.
Bathrooms Articles
Bathrooms Posts
Single bathroom vanities designs for small bathrooms
Spoil your bathroom with stylish tiles
Building Articles
Residential Architecture
Comments / photos for the A Brief Guide To Fitting Wet Wall Panels page welcome