Outdoor home office renovation guide, Property interior design style tips, Online house decor advice
A step-by-step guide to outdoor home office renovation
1 September 2022

Let’s face it: not everyone’s house is ideal for work. Maybe there’s no space to set up an efficient workstation, or maybe it’s too noisy with the kids around. If this sounds like you, how about turning your garden shed into an outdoor office? This allows you to have a quiet, peaceful, and relaxing place to work in your backyard.
In this blog, we’ll share the steps to completing an outdoor home office renovation. By the end, you’ll know what to do to design and build the perfect office shed.
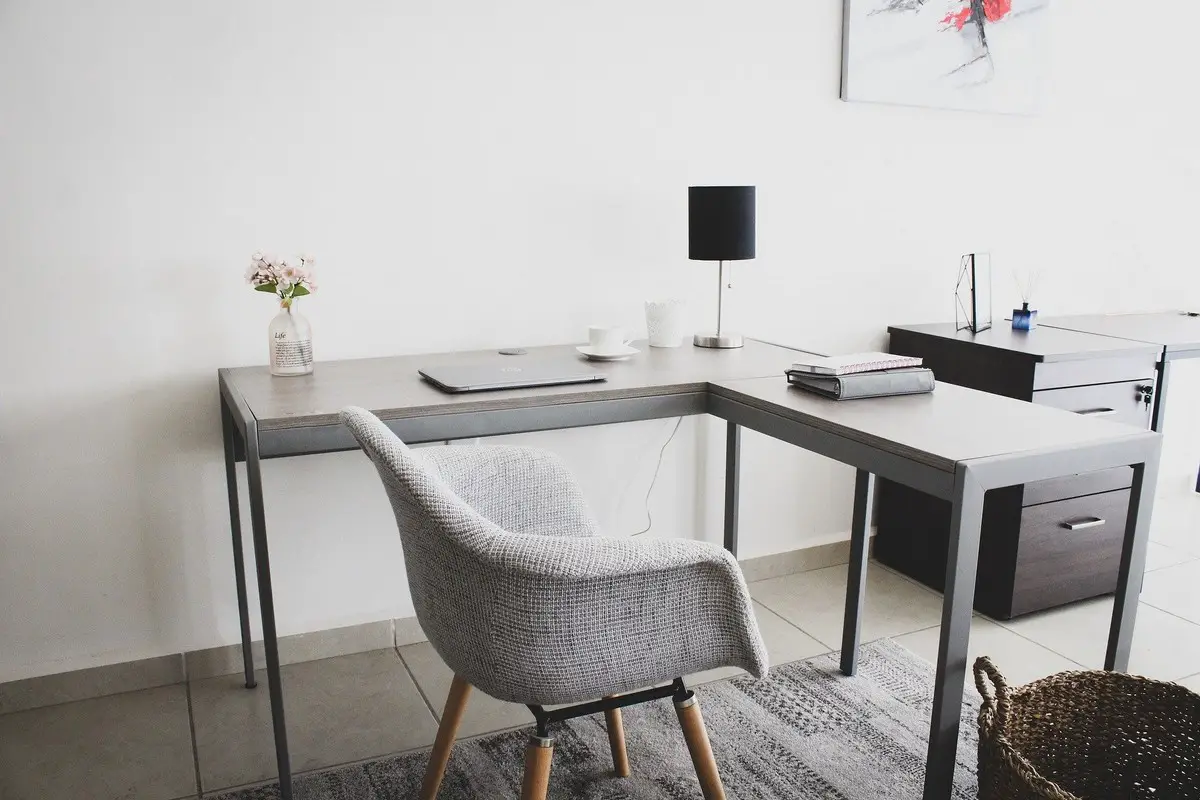
Step 1: Plan your outdoor home office renovation
The first step is planning and designing your outdoor office space. Ask yourself these questions:
- How large do I want my backyard office space to be?
- Will the office be one large room, or should I include partitions?
- Where will the outlets and lighting fixtures be located?
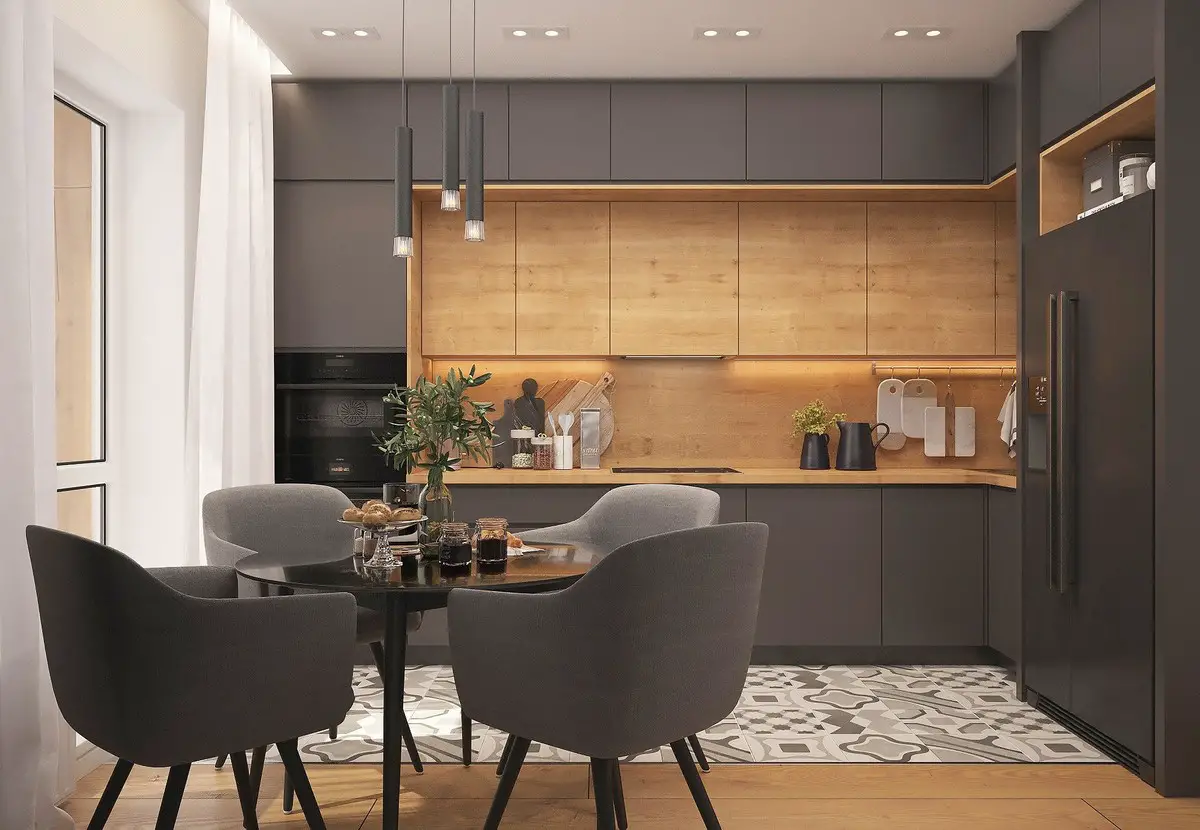
- Should I add include a kitchenette?
- Will I need to add a toilet and a wash basin?
- Which direction do I want my home office to face?
- Should I move the position of my office shed?
- How much storage space will I need?
Once you answer these questions, you can start coming up with a layout and a design. A skilled drafting professional can also help you with creating technical drawings for your dream office.
Step 2: Get a building permit
Since a home office is considered a habitable space, you need to follow certain building codes and regulations when designing and constructing one. You may also need to secure a building permit, depending on where you live. Contact your local council regarding what types of permits you will need and ask about the regulations you need to follow. Tell them the approximate size of the shed and utilities (i.e., electricity, water) that you will be using.
Step 3: Build a solid foundation
One advantage of converting an existing garden shed is that you don’t have to build an outdoor home office from scratch. However, there are some parts of the structure that you need to be mindful of. For example, your shed will need a solid foundation to ensure that your workstation will be steady.
Consider adding a wooden subfloor by putting pressure-treated wooden floor joists onto the ground. Make sure that the wood does not directly come into contact with topsoil since the moisture from the ground will cause it to rot. To get around this, scrape away topsoil and replace it with crushed gravel.
Step 4: Add insulation
Adding sufficient insulation is necessary to ensure that your home office stays comfortable all year round.
Start with the exterior siding. Your options include solid wood, engineered wood, vinyl, and aluminium. Note that the appearance of your backyard home office will vary depending on the type of siding you choose.
Once the siding is installed, add internal insulation. Your options include fibreglass insulation, foam insulation board, and spray foam insulation. Fibreglass insulation is the cheapest material among the three, though spray foam insulation provides the highest level of insulation.
Step 5: Fix wiring and utilities
Setting up electrical wiring and utilities should always be left to professionals. But before that, you should first determine how much power you’ll need for your backyard office.
Most modern laptops and computers use up about 100 to 150 watts of energy, though some powerful ones can use up about 500 watts or more. Add up the power you’ll use for lighting fixtures and other appliances, as well.
Step 6: Install drywall and set up outlets
Once your outdoor office has sufficient insulation and is connected to utility lines, it’s time to put up drywall. You may need the help of a friend or a professional when carrying drywall and putting it in the right position. Then, attach them to the sides and the ceiling using a powerful nail gun.
You’ll need to cut holes in the drywall to make way for power outlets. Then, wire up the power outlet and screw the front plate.
Step 7: Add the finishes
At this point, your home office is ready for the finishing touches. For your walls, you can try the following:
- Painting: Add colour and vibrancy to your home office by painting it into a bright shade. You may also opt for a calming neutral colour to encourage relaxation.
- Adding wallpaper: Wallpaper is easy to stick and comes in a variety of designs.
- Installing wood panelling: Wood panels can be attached to walls to add texture and visual interest.
As for your office flooring, you can choose from the following:
- Carpet: Adding carpeting will make your backyard office more comfortable and cosy.
- Tiles: Tiles are durable and stylish, perfect for a professional home office.
- Solid or engineered wood: Wood planks with tongue and groove joints can be easily installed without the help of a professional.
- Laminate: Laminate flooring is a synthetic material that’s made to simulate the appearance of real wood.
- Sheet vinyl flooring: Sheet vinyl flooring comes in large, flexible sheets. They’re fully water resistant and are easy to install.
Comments on this Outdoor home office renovation guide article are welcome.
Furniture Articles
Furniture Posts
Made goods furniture and home decors
Vital rules of bedroom furniture placement tips

How to choose the perfect furniture for your garden
Iconic Collaborations in Luxury Furniture
Give your Old Wood Furniture Pieces a New Look
8 tips to help you buy new furniture for your home
Building Articles
Residential Property
Comments / photos for the Outdoor home office renovation guide advice page welcome.