
Install a whole-house water filter on a well, Building design tips, Online filtration at home advice
How to Install a Whole-House Water Filter on a Well
post updated 10 February 2024

8 April 2021
Well water contains various contaminants collected from the earth, such as chemical compounds and bacteria. A whole-house filtration system can be the best system to address water problems at the point of entry before using the water. Your well water quality will determine the type of filter best for your home or business needs.
Well water systems tend to be more complex than systems for city water because the water has relatively more contaminants. City water is usually already treated for living organisms.
Once you’ve identified the right whole house water filtration system for your water needs, the next big step is the installation process. With the right tools and materials, you should be able to complete the installation in no time. Here’s how to install a whole-house water filter on a well.
How to Install a Whole-House Water Filter on a Well – Tips
What You Need
- Filtration system
- Adjustable wrenches
- Teflon tape
- Pipe cutter
- Extension ladder
- Slip joint push fittings
- Bucket
- Shut-off valves
- Screwdriver
- Drill
- Drill bits
Where to Install Your Filter
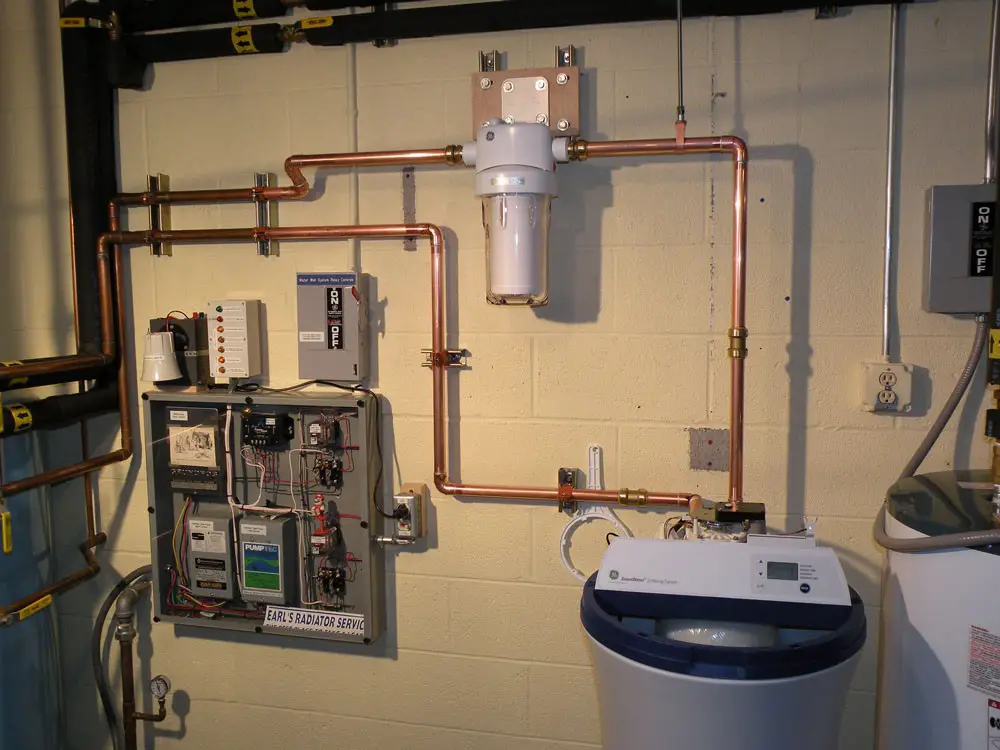
The best place to install your filter is in the main water supply line before it enters the storage tank, heater, or water softener. You’ll need to change the cartridge periodically. Therefore, ensure to choose a location with sufficient clearance beneath the filtration tank for easy removal and reattachment.
How to Install a Whole-House Water Filter on a Well in 7 Easy Steps
Drain the System
Start by turning off the water supply at the mainline. Next, open a faucet from the lowest point in your house. This helps to release pressure and drain most water out of the system.
Cut the Pipe
Using the template provided with the filter kit, mark the part you intend to install the filter for exact placement. Now, use a pipe cutter to make two cuts on the pipe, and remove the marked section. Tighten the cutter onto the pipe using the twist handle so the blade lines up with the marked point.
Continue twisting the handle as you rotate the cutter around the pipe until it cuts all the way through. You’ll need a bucket to collect any water remaining in the pipe when the pipe is cut. Once the marked section is removed, use the cutter’s reamer blade to remove any burrs inside the freshly cut pipe.
If you intend to install the filter in a tight space, you may want to use a mini-cutter. It has a smaller handle and body for convenient use in tight spaces. But it works just like a typical pipe cutter.
Install Shut-Off and Bypass Valves
A bypass line will be useful if you don’t want all the water to pass through the filter. It ensures the water supply to the rest of the house doesn’t stop when repairing the system or changing the filter. You’ll need three valves: two shut-off valves on either side of the system and one on the bypass line.
Attach the Fittings
You’ll now put a compression nut, with the small end first, on any of the cut pipe ends. Next, slide on the ferrule and repeat the same procedure for the other pipe end. Thread a brass fitting onto both the inlet and outlet ports of the filter housing.
Install the fittings as per the manufacturer’s instructions. Use the Teflon tape to establish a good seal between the filter port and the fitting. Tighten the fittings onto the filtration system until they’re snug, but be careful not to over-tighten.
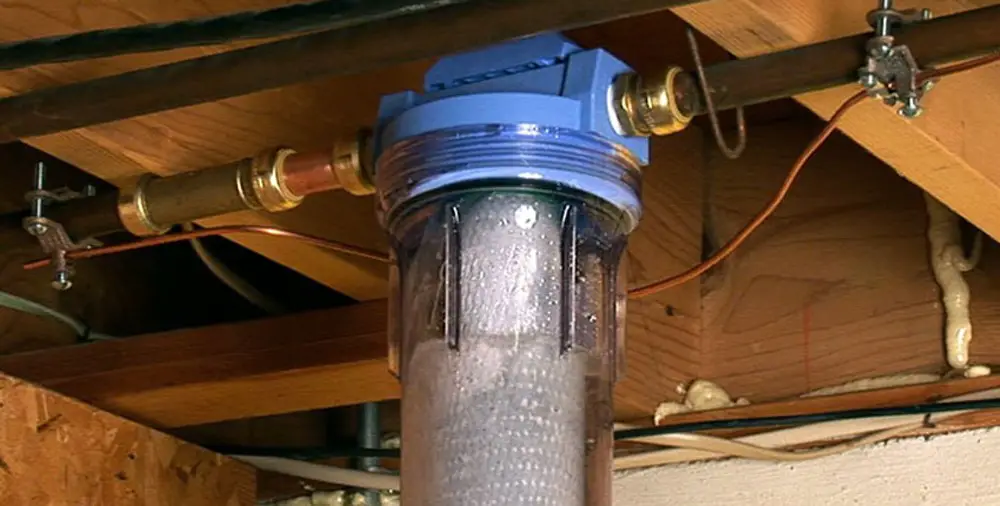
Install the Filter
When positioning your filter, make sure the water enters the system through the “in” port and leaves through the “out” port. Installing the filter backward may not be effective. Normally, the “in” should be on the side closer to the water meter and the “out” pointing towards the water heater.
Turn the Mainline Back on
Once you’ve installed the filter as per the manufacturer’s instruction, slowly turn the mainline on and check for any leaks. In case there are leaks on the bypass line, tighten up the fittings in those areas.
Next, close the bypass line and open the two valves on either side of the system to allow the filtration system to start filtering. Again, check for any leaks and tighten the fittings up.
Flush the Filtration System
After installing the filter, ensure to flush it for a few minutes. This will help remove air, debris, and restore water pressure. You should flush the system using chlorine to sanitize the pipes since bacteria may get into your pipes during installation.
Your filtered water, however, may still contain hard minerals, such as calcium and magnesium, which could harm your appliances. You may want to also install a water softener to remove water hardness. But first, you may want to learn more about the water softener system cost.
Conclusion
Installing a whole-house filter system may not be an easy task, especially if you don’t have the relevant experience. But it’s not impossible. You only have to follow these simple steps on how to install a whole-house water filter on a well.
Comments on this How to Install a Whole-House Water Filter on a Well article are welcome.
Water Posts
Water / Floods Posts
Water damage from leaks: construction lawsuits
Help Prevent Water Pollution Guide
Why Does the Shower Curtain Move Toward the Water?
Buildings
Residential Architecture
Luminary Apartments, Hawthorn, Melbourne, Victoria
Design: Plus Architecture

image : Tom Roe
Luminary Apartment Building in Hawthorn
Comments / photos for the Your Go-To Guide on How to Install a Whole-House Water Filter on a Well page welcome