
How to use an IPL hair removal device guide, Intense Pulsed Light advice, Hairstyle reduction treatment
Step-by-Step Guide: How to Use an IPL Hair Removal Device
This article was sent to us by
‘Thomas Adison’ [email protected] ; ‘khurram shahzad’ [email protected] for ulike.com
but they failed to complete the deal
21 August 2023
Unwanted hair can be a constant battle, but advancements in technology have brought us innovative solutions like IPL (Intense Pulsed Light) hair removal devices. These devices offer a convenient and effective way to achieve long-lasting hair reduction in the comfort of your own home. In this detailed step-by-step guide, we’ll walk you through the process of using an IPL hair removal device to ensure safe and successful results.
Step 1: Choose the Right Device
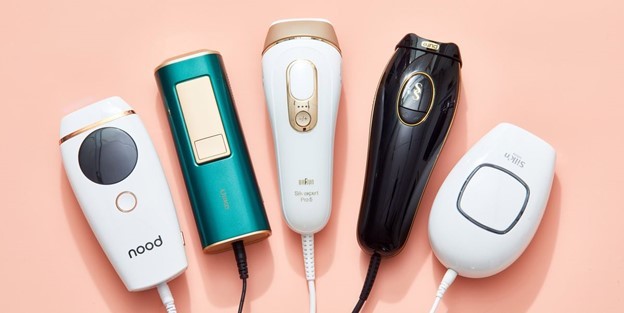
Before you begin, it’s essential to select the right IPL hair removal device for your needs. Consider factors such as your skin tone, hair color, and the areas you want to treat. Research various models and read reviews to make an informed decision. Ensure that you use an IPL device which can be used at home, and it comes with clear instructions and safety features.
Step 2: Prepare Your Skin
Preparation is key to maximizing the effectiveness of your IPL treatment. Start by cleansing the area you plan to treat to remove any makeup, lotions, or oils. Shave the area if necessary, as longer hair can absorb more light and reduce the efficiency of the treatment. Ensure your skin is clean and dry before proceeding.
Step 3: Conduct a Patch Test
Before using the IPL device on a larger area, perform a patch test on a small, inconspicuous part of your skin. Follow the device’s instructions for the patch test, usually involving using a lower energy level on the chosen spot. Wait 24 hours and monitor your skin for any adverse reactions such as redness, swelling, or irritation. If your skin tolerates the patch test well, you can proceed with the full treatment.
Step 4: Set the Energy Level
Most IPL hair removal devices offer adjustable energy levels to accommodate different skin tones and hair colors. Begin with a lower energy level for your initial session, and gradually increase it as your skin becomes accustomed to the treatment. The highest energy level should be effective without causing discomfort or irritation.
Step 5: Start the Treatment
Hold the IPL device perpendicular to your skin, ensuring good contact and alignment. Some devices come with a skin tone sensor that automatically adjusts the energy level based on your skin tone. Press the device’s flash button to emit the light pulse onto the targeted area. Move the device slightly to overlap the previous area and continue until you have covered the entire treatment zone. The best IPL device for home is the Ulike hair removal device which uses the latest technology and is affordable in price.
Step 6: Cooling and Comfort
Many IPL devices are equipped with cooling mechanisms to enhance comfort during treatment. If your device has this feature, make use of it to help alleviate any heat sensation on your skin. Take breaks between flashes if needed, but ensure you maintain consistent coverage of the treatment area.
Step 7: Post-Treatment Care
After completing the treatment, apply a soothing gel or moisturizer to calm the skin and minimize potential redness or discomfort. Avoid using harsh skincare products, exfoliants, or exposing the treated area to hot water for at least 24 hours. Apply a broad-spectrum sunscreen with a high SPF to protect your skin from UV rays, as it can be more sensitive after IPL treatment.
Step 8: Follow the Treatment Schedule
Achieving optimal results with IPL hair removal requires multiple sessions. Follow the recommended treatment schedule provided by the manufacturer. Typically, you’ll start with more frequent sessions (e.g., every 1-2 weeks) and gradually space them further apart as hair growth diminishes.
Step 9: Monitor Progress
As you continue with your IPL treatments, keep a close eye on the progress of hair reduction. Over time, you should notice a decrease in hair growth and the development of finer, lighter hairs. Keep a record of your sessions and any changes you observe to assess the effectiveness of the treatment.
Step 10: Maintenance Sessions
Even after achieving your desired results, occasional maintenance sessions may be necessary to ensure long-lasting hair reduction. Adhere to the maintenance schedule recommended by the manufacturer to maintain smooth, hair-free skin.
Step 11: Seek Professional Advice
If you experience any unexpected reactions or have concerns during your IPL treatment, it’s advisable to consult a dermatologist or skincare professional. They can provide guidance, address any issues, and ensure that your at-home IPL experience is safe and effective.
How to use an IPL hair removal device Conclusion
In conclusion, using an IPL hair removal device at home can be a game-changer in your beauty routine. By following this comprehensive step-by-step guide and taking safety precautions, you can enjoy the benefits of smooth, hair-free skin without the hassle of frequent shaving or waxing. Remember that individual results may vary, and consistency is key to achieving the best outcomes.
Comments on this guide to How to use an IPL hair removal device article are welcome.
Body and Beauty Posts
Hair Removal
How successful is laser hair removal

Body and Beauty Articles
How to order your cheap wigs from Beautyforever


Buildings
Residential Architecture
Looking for a perfect wig to wear in 2022

Comments / photos for the How to use an IPL hair removal device advice guide advice page welcome
