Installing a Mini Split AC: Step-by-Step Guide for Beginners
16 June 2026
Mini split air conditioners are now supposed to be an ideal cooling system in a modern house. They provide a high-quality cooling service, do not make noise, and can be placed without ducting.
To a beginner, mini split system installation can be a complex process, but following the proper instructions, this installation can become quite simple.
Meet Costway – Smart Cooling Solutions for Modern Home
Prior to reading about the installation, it is useful to learn about brands with practical and user-friendly cooling systems. Costway is an international e-commerce product brand that boasts of trustworthy home appliances, furniture, outdoor goods, and smart home solutions.
Some of the best-selling products include the 24000 btu air conditioner that aim to offer effective cooling at a low cost of power and user-friendliness. The common features of many models are inverter technology, multiple working modes as well as easy-to-use remote control systems.
With the brand proposition “Home of Delights,” Costway aims to bring comfort, convenience, and enjoyment into everyday home living. In addition to offering practical products for different household needs, Costway also supports customers with dependable services and shopping protections. Fast delivery, responsive customer service, a 30-day return guarantee, privacy protection, and product warranty support all work together to make the shopping process easier, safer, and more reassuring.
According to numerous Costway reviews, the brand is a reliable choice of its performance, cost-effectiveness, and stylish design by homeowners seeking reliable cooling products.
Step-by-Step Guide to Installing a Costway Mini Split AC
A mini split system is installed with two main systems: the indoor aeration handler and the outside condenser unit.
Choose the Right Location
The first step is selecting the proper wall location for the indoor air handler.
Key considerations include:
- The unit must be installed 7 feet above the ground.
- Try not to expose it to direct sunlight or heat.
- Allow free air movement around the unit.
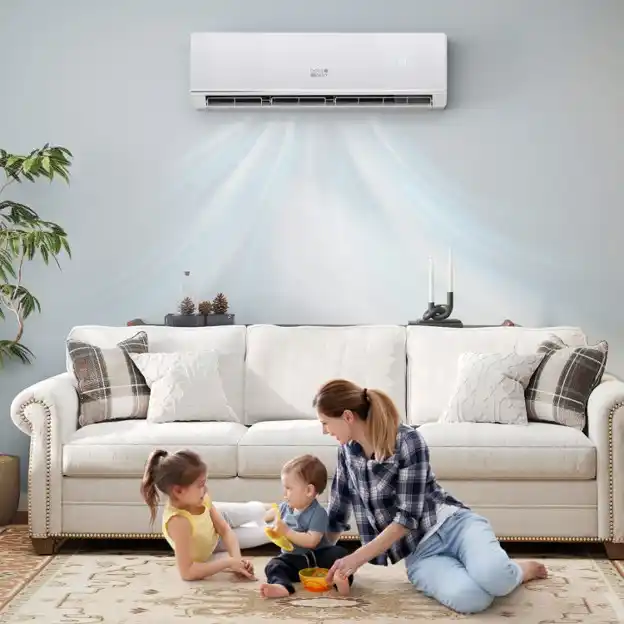
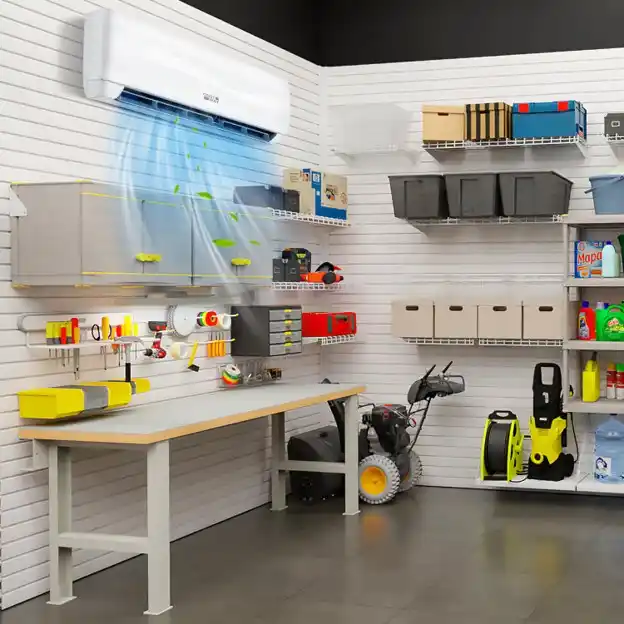
Most homeowners install them in living rooms or bedrooms since these are the places that enjoy the most from consistent cooling.
Mount the Indoor Unit Bracket
After the place is chosen, fasten the mounting bracket onto the wall.
Important tips:
- Use a level tool to ensure the bracket is straight.
- Fix it using wall anchors and screws.
- Ensure that the wall has balanced strength to hold the unit.
The indoor unit will subsequently be attached directly to this bracket, which must be installed properly to ensure safety.
Drill the Wall Hole for Piping
Mini split systems only need a small opening in the wall to mount the indoor and outdoor units.
This opening allows space for:
- Refrigerant lines
- Drain hose
- Electrical wiring
The hole is generally 2–3 inches wide and inclined slightly toward the exterior. The design facilitates the proper drain of condensation.
Install the Indoor Air Handler
After preparing the wall opening, the indoor unit can be mounted.
Steps include:
- Install the pipes, cables and drain hose through the hole in the wall.
- Place the unit very carefully on the mounting bracket.
- Make sure that it snaps in place.
After installation, the indoor air handler is to be mounted firmly and evenly against the wall.
Install the Outdoor Condenser Unit
The outdoor condenser is responsible for releasing heat.
Installation tips include:
- Mount the condenser on a level surface or on a mounting pad.
- Ensure that there is space of at least 2 – 3 feet around the unit.
- Do not keep it close to plants, debris, or tight spaces.
As an example, systems such as the Costway mini split AC are found to be more efficient when the airflow surrounding the exterior unit is not obstructed.
Connect Refrigerant Lines and Wiring
Next, the indoor and outdoor units must be connected.
These connections include:
- Refrigerant piping for cooling operation
- Electrical wiring for system control
- Drain hose to remove condensation
It is necessary to ensure that connections are tightened appropriately to avoid leaks. Most of the time, homeowners seek professional help in this step in order to make sure that it operates safely.
Vacuum and Test the System
The refrigerant lines have to be sealed first to eliminate air and moisture before the system is switched on.
This process helps –
- Enhance cooling operation.
- Avoid damaging internal components.
- Maintain refrigerant circulation.
The system can be turned on after vacuuming to be tested. Check airflow, temperature settings, and operation.
Conclusion
It might be difficult to install a mini split air conditioner on the first attempt, but with the right guidelines, it can be easily done. Quality installation, safe fixation, and proper connections are vital in effective functionality. Homeowners can experience cool and contemporary comfort with properly designed systems such as Costway 24000 BTU mini split AC units.
Comments on this guide to Installing mini split AC guide for beginners article are welcome.
HVAC – Air Conditioners

image source : unsplash.com
Air Conditioners Posts
Why Rely On Professionals For Air Conditioning, Heating, HVAC
HVAC Systems in Modern Architecture
++
Buildings
Residential Architecture Articles
Comments / photos for the Installing mini split AC guide for beginners – building temperature control page welcome.